> For the complete documentation index, see [llms.txt](https://docs.vividlabs.com/llms.txt). Markdown versions of documentation pages are available by appending `.md` to page URLs; this page is available as [Markdown](https://docs.vividlabs.com/vivid-nft-shop-app-getting-started/step-2-create-nft-products.md).
# Step 2: Create NFT Products
The VIVID NFT app can be found in the **Apps** tab on your store’s admin page.
In the VIVID NFT app, you will see the **NFT Products** screen. This is where you’ll mint new NFTs from a collection template we provide. You can create a new template and add NFTs as well as update the files in a template NFT you made previously. You can create as many templates as your billing tier allows.
***Note:** From your store's admin main page you can navigate to the NFT creation page by clicking **Apps** tab > **VIVID NFT** app in Installed apps > **Create New NFT** button.*
The first step is to create a Collection.
In the **NFT Products** page, enter fields for the name and description of the NFT product. This name and description entered here are part of the NFT and recorded in its metadata.
After you have selected "Create a new collection" from the drop down menu, and given it a name in the field below, you will then want to select the Token type. Select Single Edition if you want a one-of-one NFT, or Multiple Editions if you want more than one edition of the NFT.
Name **Your NFT** and give it a description.
Now add the media files of your choice in the **Media** content section by dropping files or clicking the **Add files** button. Vivid Labs minting technology supports minting one or *multiple* files for each NFT you mint. And, you can add files to your NFT after minting.
***Note:** The file formats accepted are: ai, bmp, eps, flv, gif, jpg, m4v, mov, mp4, mpg, png, webm, webp, wmv.*
You will see the media being uploaded live.
By dragging your files in the **Media** section to the left side of the section, you can control what images represent the cover image. The **Cover image** is the file that represents your NFT that customers will see on your storefront. Many NFT creators use a colorful image to represent their NFT.
Now that you have made your selections about the name, token type, symbol and selected your files, the next step is to input **Media Details.**
***Note**: Merchants can mint up to 10,000 editions of their NFTs. This will consume data in your pricing tier.*
After the files are done uploading, and you have added a price and number of editions, click the **Save** button that will appear at the top of the screen.
***Note:** Creating the product may take a few minutes depending on the content’s file size. The NFT is in the Shopify database at this point.*
After you click save, follow these prompts:
***Note:** This section is the editable information for your product within the store and can be edited for merchandising or commercial reasons. However, changing information here does not affect the name and description that was originally entered when creating the NFT and is now minted and stored for the NFT on the blockchain. This is where you can add files to your NFTs after they have been minted.*

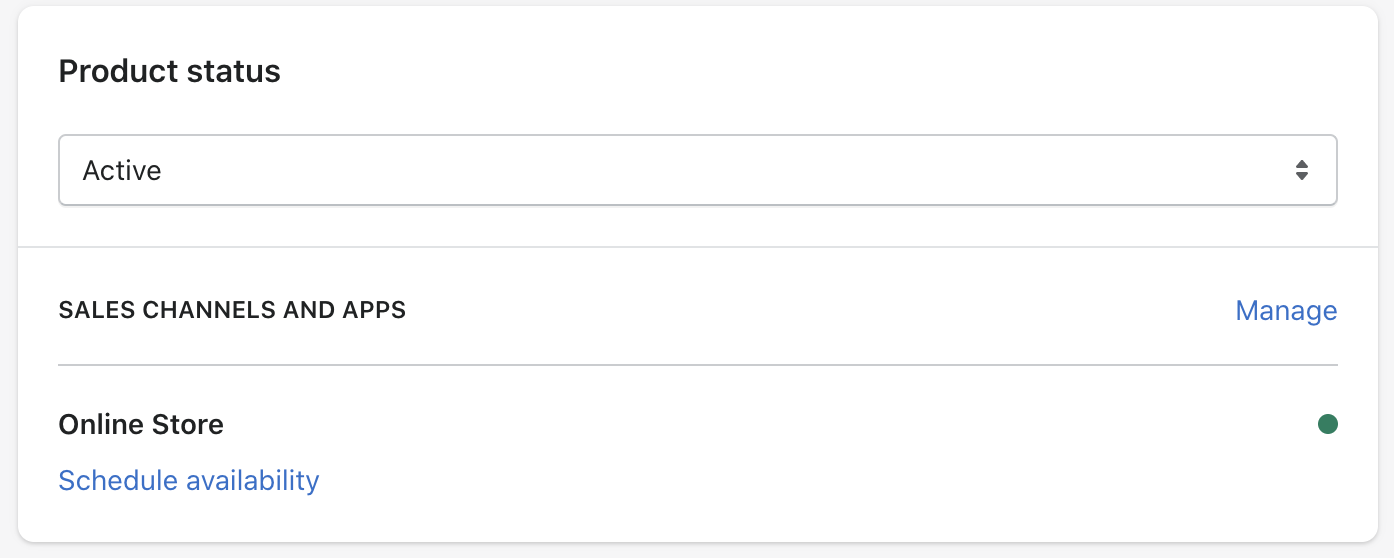
To add this product to your online store for others to buy, change the **Product status** from **Draft** to **Active**. Then **Manage** next to **Sales channels and apps** to change the sales channel to **Online Store.**
Now click the **Save** button on the product page.
The NFT product is now available to buy in your store.